Finding the perfect jimmy johns bread recipe can be frustrating. Sure, there are recipes out there, but do they really capture that soft, chewy deliciousness you crave from Jimmy John’s?
We know the feeling! The aroma, the perfect texture for your favorite sub…sometimes the craving is just too strong to resist. But what if you didn’t have to settle for a less-than-perfect substitute?
This easy homemade Jimmy Johns bread recipe is your solution! Learn how to make Jimmy Johns bread that rivals the original. We’ll unlock the secrets to that iconic soft, chewy texture.
Jimmy Johns Bread in a Flash
- Combine ingredients, knead dough
- First rise
- Shape loaves
- Second rise
- Score, bake, and enjoy!
Table of contents
Introduction

The Secret to Perfect Jimmy Johns Bread at Home
Have you ever craved that soft, slightly sweet, melt-in-your-mouth bread from Jimmy Johns? You know, the kind that makes their sandwiches legendary? Well, guess what? You can recreate that magic in your own kitchen!
So, let’s be honest, sometimes you just want to whip up a fresh loaf instead of heading to the sandwich shop. I get it! Years ago, I was on a quest to replicate that iconic bread, and after much experimentation, I nailed it. Are you ready to learn my secrets?
Unlock the Soft, Chewy Texture and Delicious Flavor
Here’s why this Jimmy Johns bread recipe is a must-try:
- Beginner-friendly: Even if you’re new to baking, I’ll guide you through it.
- Versatile: Perfect for sandwiches, toast, or just slathered with butter.
- Crowd-pleaser: Trust me, this bread will disappear fast!
Is your mouth watering yet? Let’s dive into the recipe! While we work, feel free to share your favorite Jimmy Johns sandwich combos in the comments. I’d love to hear them!
Important Note: Want to know what really sets this bread apart? Check out my guide to fresh sandwich toppings – it’s the perfect complement to this recipe! And for a flavor boost, try one of these homemade mayonnaise recipes that will have you ditching store-bought spreads.
Ingredients & Equipment
Gather Your Essentials
Let’s get this bread party started! Before we dive into the magic of dough-making, here’s your checklist of must-haves:
Ingredients:
- Firslty, Flour: All-purpose flour is our base. Nothing fancy, just reliable quality.
- Secondly, Yeast: Instant or active dry yeast – the bubbly heart of our bread. Is your yeast fresh? A quick bloom test will tell you!
- Thirdly, Sugar: Just a bit to fuel the yeast and add a hint of sweetness.
- Fourthly, Oil: The secret ingredient for that soft Jimmy Johns texture. Use vegetable or canola oil.
- Last but not least, Salt: Essential for flavor and dough structure.
- Lastly, Warm water: Not too hot, not too cold – the perfect temperature for happy yeast.
Equipment
- Large mixing bowl: Give that dough room to rise!
- Stand mixer (optional): Makes kneading a breeze, but good old-fashioned hand-kneading works beautifully too.
- Baking sheet: A sturdy sheet for those gorgeous golden loaves.
- Silpat or parchment paper: Prevents sticking and makes for easy cleanup.
Now, here’s a little secret I learned from my grandma, who was a master baker: a pinch of love is the most important ingredient of all! Ready to get your hands a little floury?
Tip: Measuring ingredients accurately matters! For consistent results, break out the kitchen scale or measuring cups.
Step-by-Step Instructions

The Bread-Making Journey
Activating the Yeast:
Warm water is key! Think of it like a cozy bath to wake up the yeast. Is your water the right temperature? A quick finger test will tell you – it should be pleasantly warm, not hot.
Mixing & Kneading the Dough:
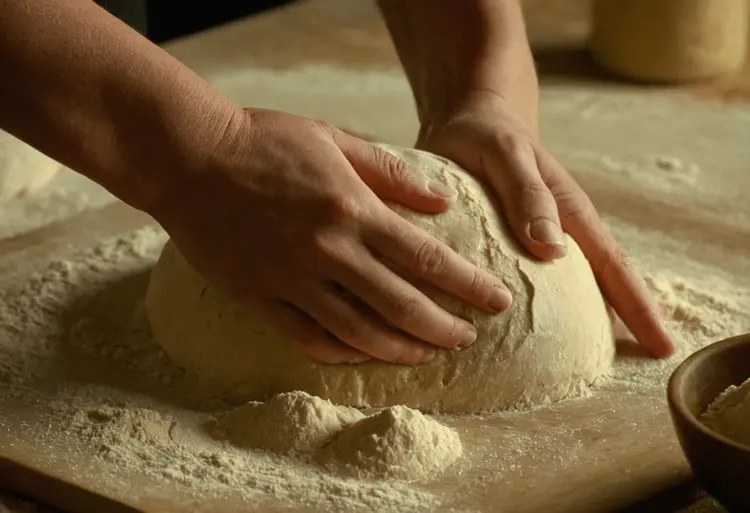
Get your hands ready, or fire up that stand mixer! We’re aiming for soft, elastic dough. How do you know when it’s ready? The dough should spring back gently when you poke it. This might take about 5-8 minutes with a mixer or up to 10 minutes if kneading by hand.
First Rise:
Find a warm, draft-free spot for your dough baby to rest. Cover it with a damp towel and let it double in size – usually about an hour. Remember that time can vary depending on how warm your kitchen is.
Shaping the Loaves:
Time to get creative! For classic Jimmy Johns subs, we’ll shape long loaves. Gently roll out the dough and form it into a tight log. If you’re feeling adventurous, divide the dough for dinner roll-sized subs.
Second Rise:
Give those loaves another rest before the grand finale. They should almost double in size again. While they rise, crank up your oven because baking time is near!
Scoring and Baking:
Ever wondered why bakers score their bread? A few slashes across the top let steam escape, giving you that crackly Jimmy Johns crust. Bake those beauties until golden brown. The smell of fresh bread will fill your kitchen – the best kind of aromatherapy!
Cooling & Storage:
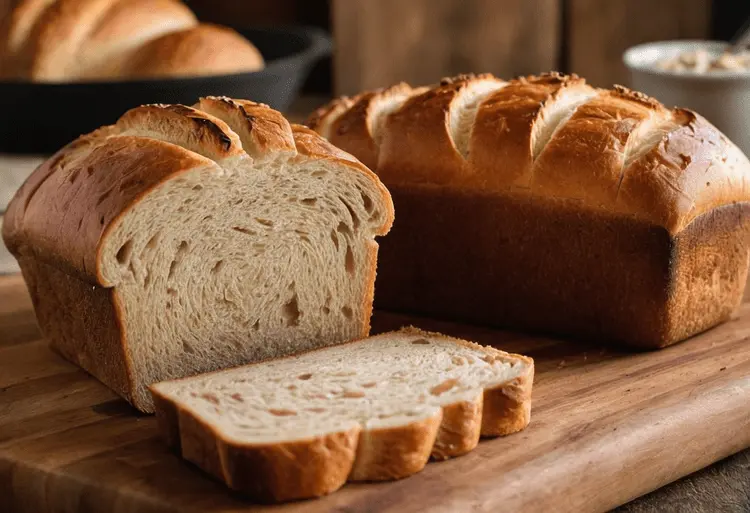
Resist the urge to slice in right away! Letting the bread cool completely ensures perfect slices. Store your homemade Jimmy Johns bread in an airtight container at room temperature for a few days or freeze it for longer freshness.
The Jimmy Johns Difference: What Makes This Bread Special
Okay, let’s be honest. At first glance, this Jimmy Johns bread recipe might seem like your standard French bread. But trust me, there’s more to it than meets the eye. So, what makes this bread so darn addictive?
The Texture: Soft Yet Chewy
Ever noticed how Jimmy Johns bread is softer than a classic baguette? It melts in your mouth while still having a satisfying chew. This perfect balance is key to holding all those delicious fillings without turning soggy.
The Ingredients: It’s Not Just Flour and Water
Here’s where things get interesting. Unlike traditional French bread, this recipe includes a few secret weapons:
- Oil: Adds richness and tenderness.
- Baking Soda: Creates a finer crumb (those tiny air pockets) for that signature softness.
- Subtle Sweetness: Just a hint of sugar balances the flavors.
The Flavor: Simple But Oh-So-Satisfying
This bread isn’t about bold flavors. Its subtle, slightly sweet taste is the perfect canvas for those piled-high Jimmy Johns sandwiches. Think of it as the ultimate supporting actor, letting the meats, cheeses, and veggies shine.
Bonus: A Personal Touch
My obsession with this bread started when I worked at Jimmy Johns in college. I’d sneak bites of the freshly baked loaves – there’s nothing quite like that warm bread aroma! Now, I always have a batch in my freezer for those ultimate sandwich cravings.
Let me know – have you tried recreating Jimmy Johns bread at home? What do you think makes it stand out? Don’t forget to tag me on social media with your baking creations!
Troubleshooting & Tips
Mastering Your Homemade Jimmy Johns Bread
Baking can be a fickle beast, can’t it? One day your bread is a fluffy masterpiece, the next it’s a dense brick. Don’t worry, even the most experienced bakers have their off days! Let’s troubleshoot those common hiccups and get you back on the path to sandwich perfection.
- My bread is dense and heavy. What went wrong? Several factors could be at play. Is your yeast fresh and active? Did you overwork the dough during kneading? Under-rising is another culprit.
- The loaves didn’t rise much and came out flat. Help! This usually points to an issue with the yeast. Was the water too hot, killing it? Or maybe your yeast is simply expired. Also, ensure your rising environment is warm and draft-free.
- My crust is tough, not crackly. Where’s that signature Jimmy Johns snap? Steam is key! Try spritzing your loaves with water right before baking and adding a pan of hot water to the lower oven rack.
- Speaking of crust, mine’s too pale! A higher oven temperature in the final few minutes of baking can help with browning. You might also try lightly brushing the loaves with egg wash before they go in the oven.
Let me tell you, this Jimmy Johns bread recipe has been in my family for years – a slightly-adapted secret passed down from a friend who worked at the original shop. We love tweaking it for special occasions. Pro tip: Add a sprinkle of Italian seasoning to the dough for next-level garlic breadsticks!
Let’s keep those bread-baking successes coming! Have you run into any other challenges with your homemade Jimmy Johns bread? Drop a comment below, and we’ll solve it together.
Extra Tips for Bread Bliss:
- Invest in a kitchen scale: More accurate than measuring cups = more consistent baking.
- “Feel” is everything: Learn to recognize when your dough is properly kneaded.
- Patience is your friend: Don’t rush those rise times.
Happy baking! And don’t forget to share those delicious results, tag me on social media, and spread the Jimmy John’s bread love!
Beyond the Bread: Perfect Jimmy John’s Sandwich Pairings

Okay, you’ve mastered that iconic Jimmy John’s bread recipe. The house smells incredible, and that crust is calling your name.
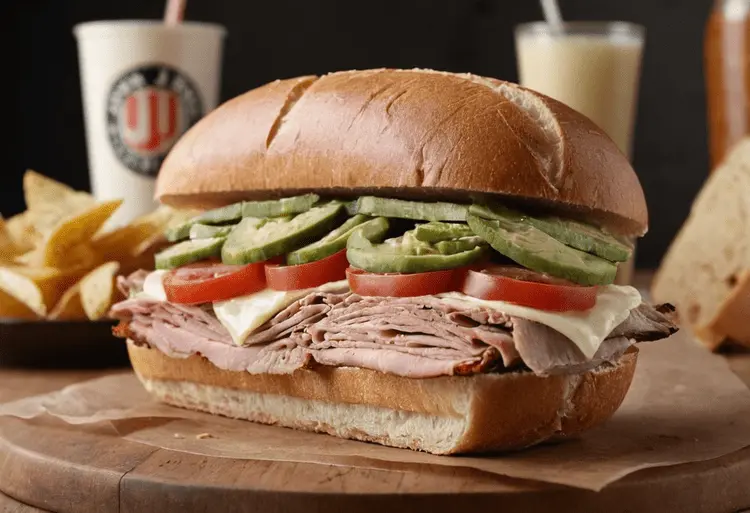
But what’s next? Is a perfect sandwich experience all about the bread? Of course not! Let’s talk about those classic Jimmy John’s fillings that make your homemade bread truly shine.
Think about it:
- Crisp, fresh lettuce – the foundation for any great sandwich. Want to level up your sandwich game? Check out this awesome guide to fresh sandwich toppings.
- Those thinly sliced meats and cheeses – simple, but oh-so-satisfying.
- A touch of tangy mayo – Feeling adventurous? Try some of these homemade mayonnaise recipes to truly personalize your sandwich.
Honestly, my love for this bread started when I was a kid. My dad would take me to Jimmy John’s, and that fresh-baked smell always got me excited. Those simple sandwiches hold a special place in my heart.
Now, it’s your turn! Did you bake this Jimmy John’s bread on a whim, or is it part of a full sandwich extravaganza? Snap a photo, share your creation, and be sure to tag me! I can’t wait to see what you come up with.
Your Jimmy John’s Bread Questions Answered
What kind of bread does Jimmy John’s use?
Jimmy John’s uses a French-style bread that’s softer and has a finer crumb than traditional French bread.
What are the ingredients in Jimmy John’s wheat bread?
Unfortunately, Jimmy John’s doesn’t release a full ingredient list for their wheat bread. However, it likely includes whole wheat flour, water, yeast, sugar, and possibly some additional ingredients like dough conditioners.
What does Jimmy John’s do with the scooped-out bread?
They offer the scooped-out portions as “Gutted Bread” for those who want a lower-carb option. Any unused portions might be donated, composted, or discarded depending on the individual store’s practices.
Does Jimmy John’s have rye bread?
No, Jimmy John does not currently offer rye bread.
Can I use bread flour instead of all-purpose?
Yes, bread flour will give you a slightly chewier texture. Just be aware that you may need to reduce the total flour amount slightly for the best consistency.
My dough seems too wet/dry. What should I do?
Don’t panic! It’s normal for dough to need slight adjustments. If it’s too wet, add a tablespoon or two more flour. If it’s too dry, add a teaspoon of water at a time until it’s soft but not overly sticky.
Can I freeze this Jimmy John bread recipe?
Definitely! Freeze fully baked and cooled loaves or pre-shaped dough portions for delicious bread anytime. Check out this guide to freezing bread successfully for handy tips.
Why isn’t my bread rising properly?
A few things to check: Is your yeast expired? Is your water too hot (it should be lukewarm)? Also, a cozy, draft-free place helps your dough rise its best. I once had dough that wouldn’t budge until I placed it in a turned-off oven with the oven light on—a little warmth worked wonders!
