Tiramisu ice cream sounds amazing, but you want a recipe that’s both authentic AND easy to make. Store-bought options often fall short on flavor, and the classic dessert itself seems too fussy to transform into a frozen treat.
You dream of tiramisu homemade ice cream with those signature coffee-soaked layers, creamy texture, and a hint of sweetness. But finding the right recipe that doesn’t compromise on taste or require hours in the kitchen seems impossible.
What if you could make the ultimate ice cream at home – a recipe that’s both easy AND captures that classic flavor you know and love? Imagine creamy, coffee-soaked layers and the perfect balance of sweetness.
It’s possible! This guide will give you everything you need, whether you want a rich custard-based tiramisu ice cream or a quick no-churn version. Get ready to transform your favorite dessert into your new favorite frozen treat!
Make tiramisu ice cream in just 4 steps:
- Choose custard or no-churn base
- Make coffee & whip mascarpone
- Layer ice cream & coffee-dipped ladyfingers
- Freeze & enjoy!
Table of contents
Indulge in the Ultimate Italian Treat: Homemade Tiramisu Ice Cream

Have you ever craved the rich, coffee-soaked flavors of tiramisu on a sweltering summer day? Well, imagine that classic dessert transformed into a luxuriously creamy ice cream! So, ready to elevate your dessert game? Let’s make some incredible tiramisu ice cream together.
Why This Tiramisu Ice Cream Recipe is Unparalleled
This isn’t just any tiramisu ice cream recipe. It’s the one my Italian grandmother perfected over decades – the perfect balance of bold coffee, creamy mascarpone, and a hint of sweetness. Here’s what makes it special:
- Authentic flavors: We’ll use real espresso and a touch of amaretto liqueur for depth you won’t find in store-bought versions.
- Customizable: Don’t like too much sweetness? Easily adjust it to your liking!
- Options: Lastly, I’ll teach you how to make a classic custard base OR a quick no-churn version.
So, is your mouth watering yet? Plus, with my tips, you’ll master the perfect tiramisu ice cream consistency every time. Think scoopable, velvety perfection!
Let’s get started! But first, tell me, have you ever tried making ice cream with a classic dessert flavor?
Ingredients & Equipment
The Essential Ingredients
Gathering the right ingredients is key for your tiramisu ice cream masterpiece. Here’s your shopping list – we’ll break it down into two sections:
- The Ice Cream Base:
Whole milk (for richness) - Heavy Cream (creates that luscious texture)
- Egg yolks (for the custard version, optional)
- Sugar (adjust to your preferred sweetness)
- Mascarpone cheese (the heart of tiramisu!)
- Vanilla extract (a flavor enhancer)
- The Tiramisu Flavor Boosters:
- Strong espresso or coffee (freshly brewed is best)
- Amaretto liqueur (a hint of almond and complexity)
- Ladyfingers (those classic, spongey cookies)
- Cocoa powder (for the finishing touch)
Is quality important? Absolutely! Fresh ingredients always make a difference. A good espresso lays the foundation for that authentic tiramisu flavor in your ice cream.
What You’ll Need for Success
No fancy gadgets required! Here’s your equipment checklist:
- Saucepan
- Whisk
- Hand mixer or stand mixer
- Freezer-safe container (with lid)
- Ice cream scoop (optional, but satisfying!)
Also, love Viennetta, but hate the price tag? This homemade Viennetta ice cream cake is the perfect solution! It’s surprisingly simple to make and costs a fraction of the store-bought version
The Recipe – Two Delicious Options
Option1- The Classic Tiramisu Ice Cream with Egg Custard Base
This method delivers the richest, most decadent ice cream imaginable. Think ultra-creamy with the signature tiramisu flavor shining through.
A note from my Grandma: She always said the extra step of making a custard was the secret to her famous tiramisu ice cream. It’s a little more work, but the results are worth it!
Step-by-Step Instructions
1. Create the Custard Base: Gently whisk egg yolks and sugar until combined. So, heat milk in a saucepan, then slowly add it to the egg mixture (this is called tempering). Cook over low heat, stirring constantly, until the custard thickens slightly.
2. Flavor Infusion * Stir in vanilla and a pinch of salt. * Let the custard cool completely.
3. The Mascarpone Magic: * Whip mascarpone until smooth, then fold it gently into your cooled custard.
4. Churn and Freeze: * If you have an ice cream maker, follow its instructions. * Otherwise, freeze the mixture, whisking vigorously every 30 minutes for a few hours.
Option 2 – No-Churn Tiramisu Ice Cream
This one’s perfect for when you crave that tiramisu ice cream goodness fast! While less traditional, it’s still incredibly tasty.
Step-by-Step Instructions
1. Whip It Good: * Combine heavy cream and mascarpone, whipping until stiff peaks form. * Stir in vanilla and condensed milk (no cooking required!)
2. Coffee Break * Brew your espresso or strong coffee and let it cool.
3. Time to Assemble! * We’ll build those delicious tiramisu layers directly in your freezer container! More on this in the next section.
Let me know which method you’re leaning towards! Curious to hear if you’re a custard enthusiast or love the ease of no-churn.
Assembling the Perfect Tiramisu Ice Cream

The Layering Effect
Picture those classic tiramisu layers – creamy, coffee-soaked, and dusted with cocoa. We’re recreating that magic in frozen form! Layering is key to the authentic tiramisu ice cream experience.
Here’s why it matters:
- Texture Contrast: Firstly, Creamy ice cream meets slightly softened ladyfingers.
- Balanced Flavors: Secondly, Distributes the coffee and sweet elements evenly.
The Ideal Ladyfinger
Store-bought ladyfingers work perfectly! However, if you’re feeling adventurous, try making your own for extra bragging rights. Here’s what to look for:
- Slightly dry: This helps them absorb the coffee without turning to mush.
- Quick Dip: Just seconds in the cooled espresso for the right flavor infusion.
Pro Tip: Love different textures? So, experiment with other cookies! Shortbread or biscotti could add a fun twist to your tiramisu ice cream.
The Finishing Touches
Now the moment you’ve been waiting for! Here’s how to assemble your creation (adjust based on whether you used a custard or no-churn base):
- Layer 1: Spread a good portion of your ice cream base.
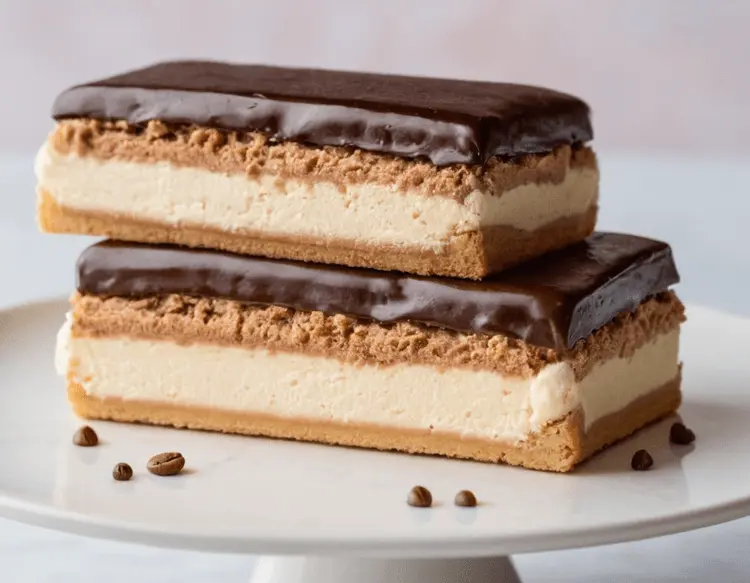
- Layer 2: Dip ladyfingers in coffee and arrange them over the ice cream.
- Layer 3: Add more ice cream, then more dipped ladyfingers.
- Repeat: Continue layering until you reach the top of your container.
- The Grand Finale: Finally, dust generously with cocoa powder, and a sprinkle of grated chocolate if you’re feeling fancy!
Freeze your masterpiece for at least 4 hours to set. Then, the ultimate reward – scoop and enjoy your homemade tiramisu ice cream!
Moreover, looking for an easy, no-bake dessert that screams indulgence? Look no further than Biscoff Tiramisu! This recipe combines rich coffee-soaked Biscoff cookies with a creamy, spiced mascarpone filling for a flavor explosion in every bite.
Expert Tips & Customization
Master Your Tiramisu Ice Cream
Remember, my grandmother always stressed that the most decadent desserts are made with love! But here are some of her pro tips, too:
- Coffee is Key: Use a rich espresso or strong coffee for that unmistakable tiramisu flavor.
- Sweetness Control: Adjust the sugar to your liking. Tiramisu is slightly sweet but shouldn’t be overwhelming.
- Patience Pays Off: Let the ice cream freeze properly for the best scoopable texture. Rushing it can lead to iciness.
Make It Your Own
The beauty of this ice cream recipe is how easily you can personalize it. Here are a few ideas:
- Flavor Swaps: Try different liqueurs instead of amaretto – hazelnut, coffee, or even Irish cream would be delicious.
- Cookie Creativity: Use crushed cookies or chocolate chips in the ice cream base for more texture.
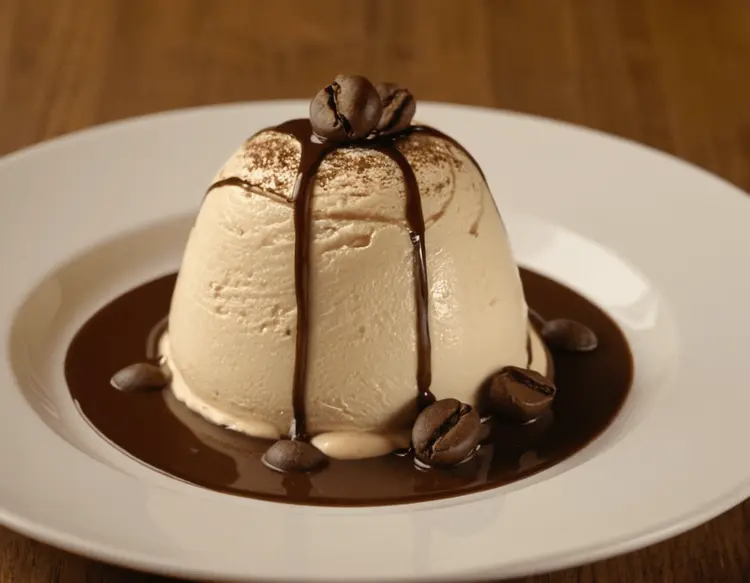
- Toppings Galore: Get fancy with a drizzle of chocolate sauce, whipped cream, or fresh berries.
Is your imagination running wild yet? My favorite twist was using chocolate ladyfingers – dessert overload in the best way!
Storage and Serving
Keeping Your Ice Cream at its Best
All your hard work deserves the best possible storage conditions! So, here’s how to ensure your tiramisu ice cream stays perfect:
- Airtight is Key: Use a freezer-safe container with a tight-fitting lid to prevent ice crystals.
- Ideal Freezer Temp: Aim for 0°F (-18°C) or lower for the best texture.
- Shelf Life: Homemade ice cream is at its peak within the first week, but can last 2-3 weeks when stored properly.
Presentation with Flair
Finally, it’s time to savor the fruits of your labor! Here are ways to serve your tiramisu ice cream:
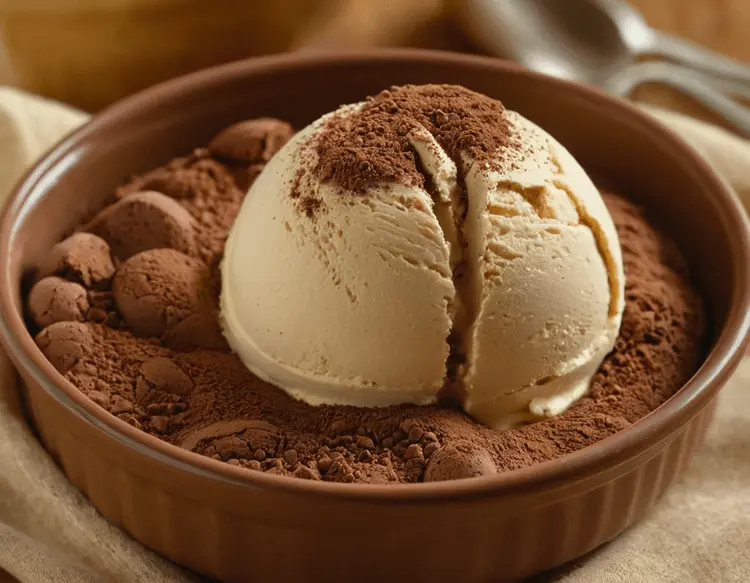
- Classic: Scooped into dishes with a final dusting of cocoa powder.
- On the Go: Enjoy it in waffle cones for a summery treat.
- Next Level: Top with fresh berries, chocolate shavings, or whipped cream.
- Affogato Twist: Serve a scoop alongside a shot of espresso.
Remember, with food, presentation is almost as important as taste! Get creative and make it visually appealing.
Quick Tip: Let your tiramisu ice cream soften slightly before scooping – about 5-10 minutes on the counter makes all the difference!
Troubleshooting

Don’t Panic! Solutions for Common Ice Cream Issues
Issue 1: Too Hard to Scoop
Is your ice cream rock-solid? This sometimes happens if your freezer is too cold or if it’s been stored for a long time.
- The Fix: Let it sit on the counter for 10-15 minutes before scooping. This slight softening makes a world of difference.
Issue 2: Grainy Texture
Ice crystals are the enemy of smooth ice cream! This usually occurs due to temperature fluctuations in your freezer or using a no-churn recipe.
- The Fix: Sadly, there’s no fixing it once ice crystals form. Focus on prevention with proper storage and consider the custard method for the creamiest ice cream.
Issue 3: Melting Too Quickly
Is your tiramisu ice cream turning into soup before you enjoy it? This can be caused by ingredients or warmer room temperatures.
- The Fix: Double-check your recipe proportions – too little fat can cause issues. Serve on chilled dishes in a cool room.
A Note from Grandma: She always said, “Work quickly when assembling desserts!” Moreover, every minute your tiramisu ice cream sits outside the freezer brings it closer to melting.
Your Tiramisu Ice Cream Questions, Answered
What is tiramisu ice cream made of?
Tiramisu ice cream typically includes mascarpone cheese, espresso or strong coffee, egg yolks (for custard-style), heavy cream, sugar, and ladyfingers. Liqueurs like amaretto are also common for extra flavor.
What is tiramisu cream made of?
The classic tiramisu cream is a blend of mascarpone cheese, egg yolks, sugar, and sometimes whipped cream for extra lightness.
Who makes tiramisu ice cream?
You can enjoy tiramisu ice cream from store-bought brands, gelaterias, or make your own delicious version at home!
What is mascarpone ice cream made of?
Mascarpone ice cream has a rich, creamy base made with mascarpone cheese, sugar, milk or cream, and often includes egg yolks for a custardy texture. Flavorings like vanilla are common, too.
Can I make this without alcohol?
Yes, absolutely! While amaretto adds a lovely depth of flavor, you have options:
Strong coffee: Substitute with extra coffee for a more intense coffee kick.
Non-alcoholic extracts: Almond or vanilla extract work well.
Skip it altogether: Your tiramisu ice cream will still be delicious!
How long will the ice cream keep?
Homemade tiramisu ice cream is best enjoyed within the first week for optimal freshness. However, you can store it in the freezer for up to 2-3 weeks in an airtight container.
Double Trouble: Sweet & Savory Treats You Can Make Today!
