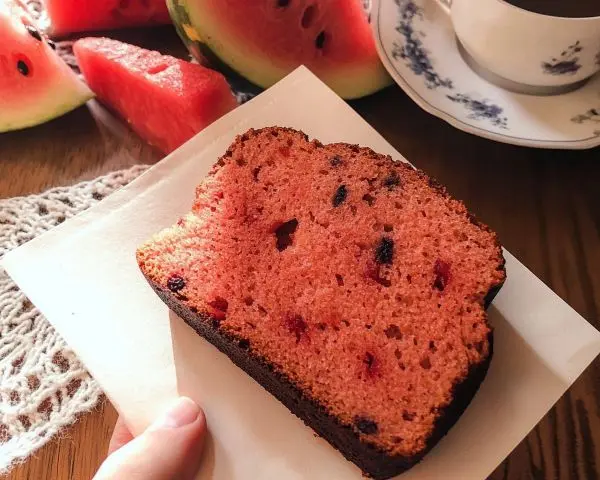
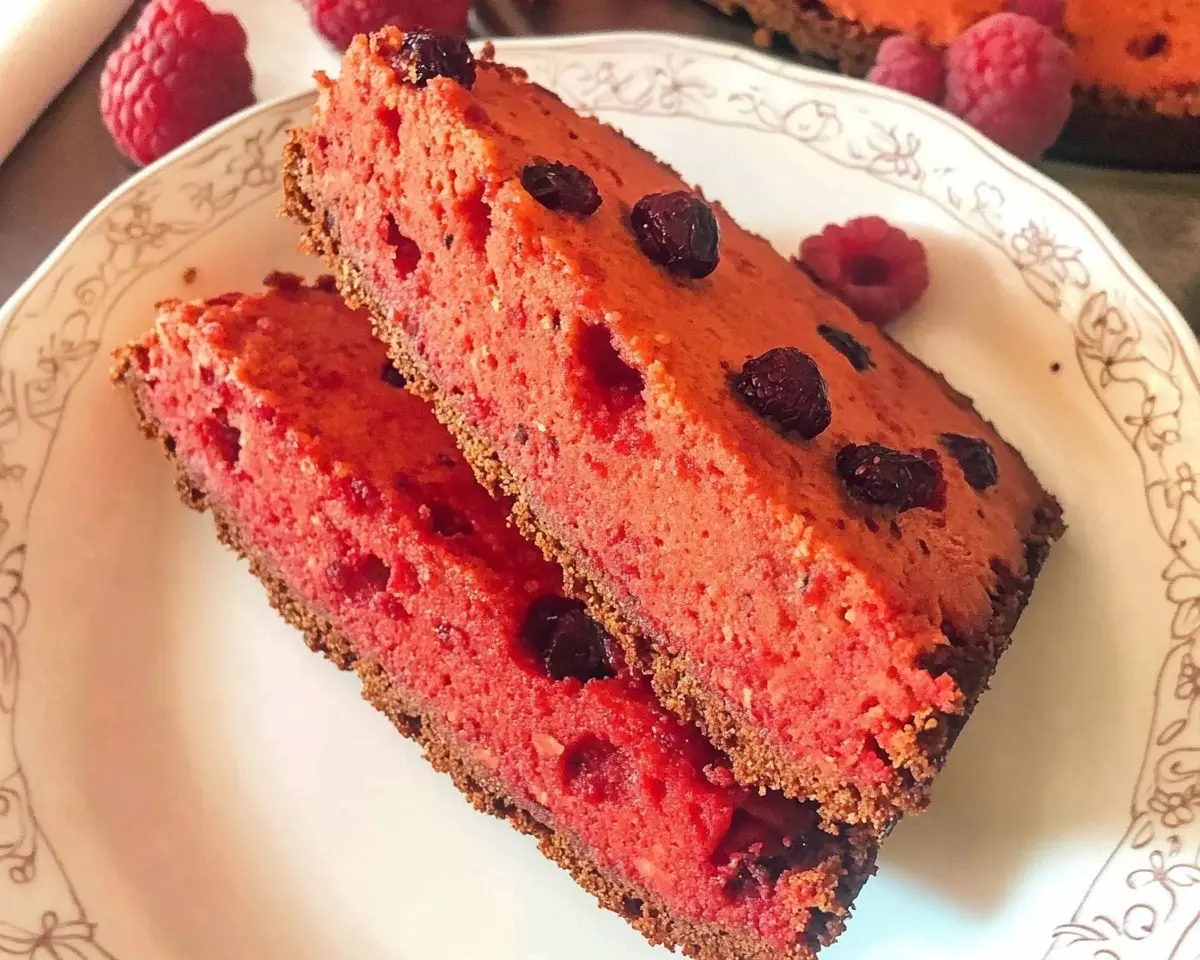
Watermelon Bread is a moist, subtly sweet quick bread that transforms fresh watermelon puree into a tender loaf with hints of summer fruit flavor.
Unlike traditional fruit breads that rely on mashed bananas or applesauce, this innovative recipe harnesses watermelon’s natural sweetness and high water content to create an exceptionally moist texture. Perfect for summer gatherings, this versatile bread can be enjoyed plain, toasted with butter, or as the foundation for creative desserts, offering a uniquely refreshing twist on classic quick bread recipes.
Table of Contents
Introduction
Have you ever heard of watermelon bread? The sweet, summery scent of watermelon always takes me back to Fourth of July picnics, where juicy slices were the star of the show. This delightful sweet bread combines that refreshing watermelon flavor with the comforting texture of a homemade loaf, making it a unique treat for any occasion.
Unlike some recipes that use food coloring to mimic watermelon’s look, this watermelon bread recipe embraces the real fruit, delivering a subtle, fruity taste that’s perfect for summer or beyond.
I first experimented with watermelon bread on a hot summer day, with a surplus of watermelon from my garden begging to be used. After a few trials (and one overly soggy loaf—oops!), I perfected this recipe.
If you’ve ever struggled to find creative ways to use seasonal fruits, this watermelon bread is your solution. It’s easy, delicious, and sure to impress at family gatherings or brunches. Let’s dive into this American-inspired recipe that brings a taste of summer to your kitchen!
Equipment You’ll Need
To whip up this watermelon bread, you’ll need a few kitchen staples. A blender or food processor is key for pureeing watermelon into a smooth liquid. I prefer a blender for its finer puree, but a food processor works too. If you don’t have either, try mashing the watermelon with a fork, though it may be chunkier.
You’ll also need a large mixing bowl (high sides prevent splattering), measuring cups and spoons for precision, and a 9×5 inch loaf pan. I tested five loaf pans, and a non-stick metal one, sprayed with non-stick cooking spray, ensures easy release and even baking. An oven preheated to 350°F and a wire rack for cooling complete the list. No wire rack? A clean kitchen towel works, but a rack promotes better air circulation.
Ingredients
Here’s what you need to make watermelon bread, divided into essentials and optional add-ins for easy shopping.

The Essentials:
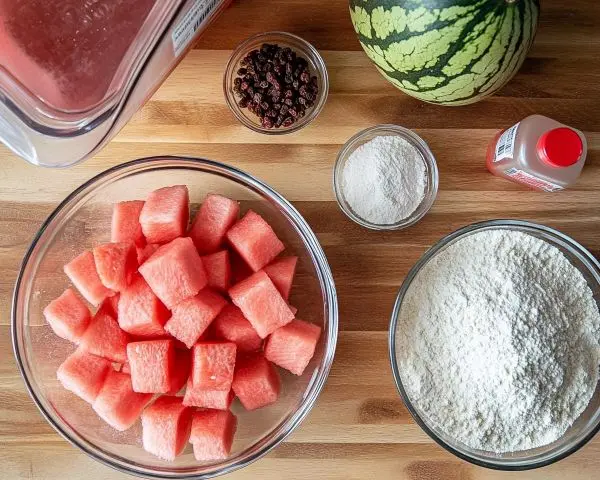
- 1 1/2 cups watermelon chunks: Choose a ripe, seedless watermelon for easy pureeing. Look for one that’s heavy with a hollow sound when tapped. Find them in the produce section of US grocery stores like Walmart or Kroger.
- 1/2 cup butter, softened: Unsalted, room-temperature butter creams best.
- 2 large eggs: Standard for binding and moisture.
- 3/4 cup sugar: Granulated white sugar for sweetness.
- 2 cups all-purpose flour: Measure by spooning into the cup and leveling off.
- 2 tsp baking powder: Ensures a good rise. Check it’s fresh!
- 1/4 tsp salt: Enhances flavors.
Bold Optional Add-ins:
- 1/2 cup raisins: Add chewiness and sweetness. Swap with cranberries or chopped dates for variety.
- 1 tsp red food coloring: Creates a pink hue reminiscent of watermelon. Skip for a natural look or use natural dyes from health food stores.
Most ingredients are pantry staples, but if you’re substituting, note that international items like caster sugar can replace granulated sugar. For dietary tweaks, see the variations section below.
Preparation Steps
Follow these detailed steps to bake the perfect watermelon bread. Each includes timing, sensory cues, and tips to avoid common pitfalls.

Step 1: Preheat and Prepare
Preheat your oven to 350°F (175°C) to ensure even baking. Spray a 9×5 inch loaf pan with non-stick cooking spray.
Pro tip: As Bobby Flay suggests, double-check your pan is well-coated to avoid sticking.
Step 2: Puree the Watermelon
Blend 1 1/2 cups watermelon chunks until smooth, aiming for 1 cup (240ml) puree. If you have more, use only 1 cup; if less, add water. Sensory indicator: The puree should be vibrant and liquid, like a smoothie. Common mistake: Using too much puree makes the batter soggy—measure carefully!
Step 3: Cream Butter and Sugar
In a large bowl, cream 1/2 cup softened butter and 3/4 cup sugar for 2-3 minutes until light and fluffy, like whipped cream. Sensory indicator: The mixture lightens in color. Common mistake: Using cold butter—let it soften first, or it won’t incorporate air properly.
Step 4: Incorporate Eggs
Add 2 eggs one at a time, beating well after each (about 30 seconds).
Pro tip: Room-temperature eggs blend better, as Ina Garten advises.
Common mistake: Adding both eggs at once can lead to uneven mixing.
Step 5: Add the Star Ingredient
Mix in the 1 cup watermelon puree and 1 tsp red food coloring (if using). Sensory indicator: The batter should be uniform, with no streaks. Common mistake: I once forgot to mix thoroughly, leaving patches of color—stir well!
Step 6: Prepare the Dry Mix
Whisk 2 cups flour, 2 tsp baking powder, and 1/4 tsp salt in a separate bowl. Pro tip: Whisking distributes leavening evenly. Common mistake: Skipping this step can lead to uneven rising.
Step 7: Combine Wet and Dry
Gradually add dry ingredients to the wet mixture, stirring until just combined (about 1 minute). Sensory indicator: The batter is thick but pourable. Common mistake: Overmixing makes the bread tough—stop when no flour streaks remain.
Step 8: Fold in Raisins
Gently fold in 1/2 cup raisins (if using).
Pro tip: Dust raisins with flour to prevent sinking.
Sensory indicator: Raisins are evenly distributed.
Step 9: Bake the Bread
Pour batter into the loaf pan, smooth the top, and bake for 60 minutes. Sensory indicator: The top is golden, and a toothpick comes out clean.
Pro tip: If browning too fast, cover with foil after 45 minutes.
Common mistake: Opening the oven too early can cause sinking—be patient!
Step 10: Cool and Enjoy
Cool in the pan for 10 minutes, then transfer to a wire rack. Sensory indicator: The bread feels firm and smells fruity. Common mistake: Slicing warm bread causes crumbling—wait until fully cooled.
Expert Tips for Perfect Watermelon Bread
Here are five commandments to elevate your watermelon bread, plus insights on tools and techniques.
- Use Room-Temperature Ingredients: Butter and eggs at room temperature blend better, ensuring a smooth batter.
- Measure Flour Accurately: Spoon and level flour to avoid a dense loaf.
- Don’t Overmix: Mix just until combined to keep the bread tender.
- Check Doneness: A toothpick should come out clean or with crumbs, not wet batter.
- Cool Completely: Patience ensures clean slices and developed flavors.
Tool Comparison: I tested metal, glass, and silicone loaf pans. Metal non-stick pans bake evenly and release easily, making them ideal. Glass pans may need longer baking (reduce temp by 25°F), and silicone pans require a baking sheet for stability. Stick with metal for best results.
Enhancing Flavor: For a stronger watermelon taste, simmer the puree to reduce it to 1 cup, as suggested by Melanie Cooks. Cool before using. The high water content of watermelon requires precise measurement to avoid a gummy texture, unlike denser fruits like bananas.
Troubleshooting:
- Dense bread: Overmixed batter or too much flour.
- No rise: Expired baking powder or cold oven.
- Too moist: Excess puree—stick to 1 cup.
Variations
Try these twists to make watermelon bread your own:

- Southern-Style: Add 1/2 cup chopped pecans for a crunchy, Southern-inspired loaf, perfect for brunches.
- Gluten-Free: Use a 1:1 gluten-free flour blend for my gluten-free sister-in-law. Test small batches, as texture may vary.
- Vegan: Swap butter for coconut oil and eggs for flax eggs (2 tbsp ground flaxseed + 6 tbsp water).
- Chocolate Chip: Fold in 1/2 cup mini chocolate chips for a sweet treat, pairing well with peanut butter bites.
- Spiced: Add 1 tsp cinnamon and 1/2 tsp nutmeg for a cozy, fall-inspired version.
For Fourth of July, make muffins for easy sharing—bake 20-25 minutes at 350°F.
FAQ About Watermelon Bread
How long does watermelon bread last?
It stays fresh for 3-4 days at room temperature in an airtight container. Refrigerate for up to a week, but it may dry out slightly.
Can I freeze it?
Yes! Slice, wrap each piece in plastic wrap, and freeze in a ziploc bag for up to 3 months. Thaw overnight or microwave briefly.
What can I use instead of raisins?
Try cranberries, chopped dates, or chocolate chips for different flavors.
Is food coloring necessary?
No, it’s just for looks. Skip it or use natural dyes for a healthier option.
Can I use frozen watermelon?
Yes, thaw and drain it first. The texture may differ slightly.
My bread didn’t rise. What happened?
Check your baking powder’s freshness and ensure the oven was preheated. Avoid overmixing.
Can I make muffins?
Absolutely! Fill a lined muffin tin 2/3 full and bake for 20-25 minutes at 350°F.
Conclusion
Baking watermelon bread is like capturing summer in a loaf. Its subtle sweetness and moist texture saved my last-minute brunch when I needed something special. Now, it’s your turn to create this crowd-pleaser. Serve with frozen Greek yogurt for dessert or alongside peanut butter bites for a snack. Pair it with iced tea or coffee for a perfect American brunch.
Try this recipe and share your results with #WatermelonBreadAdventure on social media. I can’t wait to see your creations! For a complete meal, serve with a fruit salad or scrambled eggs. Happy baking!
Watermelon Bread Recipe
Equipment
- Blender or food processor
- Large mixing bowl
- Measuring cups and spoons
- 9×5-inch loaf pan
- Non-stick cooking spray
- Oven
- wire rack
Materials
- 1 ½ cups watermelon chunks Choose a ripe, seedless watermelon for easy pureeing
- ½ cup butter softened, Unsalted, room-temperature butter creams best
- 2 large eggs Standard for binding and moisture
- ¾ cup sugar Granulated white sugar for sweetness
- 2 cups all-purpose flour Measure by spooning into the cup and leveling off
- 2 tsp baking powder Ensures a good rise. Check it’s fresh
- ¼ tsp salt Enhances flavors
- ½ cup raisins optional, Add chewiness and sweetness
- 1 tsp red food coloring optional, Creates a pink hue reminiscent of watermelon
Instructions
- Preheat oven to 350°F (175°C). Spray a 9×5 inch loaf pan with non-stick cooking spray.
- Puree watermelon chunks in a blender or food processor until smooth, yielding 1 cup (240ml) puree. Adjust with water if needed.
- Cream butter and sugar in a large bowl until light and fluffy (2-3 minutes).
- Add eggs one at a time, beating well after each.
- Mix in watermelon puree and food coloring (if using).
- Whisk flour, baking powder, and salt in a separate bowl.
- Gradually add dry ingredients to wet, stirring until just combined.
- Fold in raisins (if using).
- Pour batter into the loaf pan, smooth the top, and bake for 60 minutes or until a toothpick comes out clean.
- Cool in pan for 10 minutes, then transfer to a wire rack to cool completely.
Notes
- Measure watermelon puree accurately (exactly 1 cup) to avoid a soggy loaf.
- Don’t overmix the batter to keep the texture light.
- Check for doneness with a toothpick to ensure the bread is fully baked.
- Dust raisins with flour before folding in to prevent sinking.
- If browning too fast, cover with foil after 45 minutes.
- Store at room temperature for 3-4 days, refrigerate for up to a week, or freeze for 3 months.


