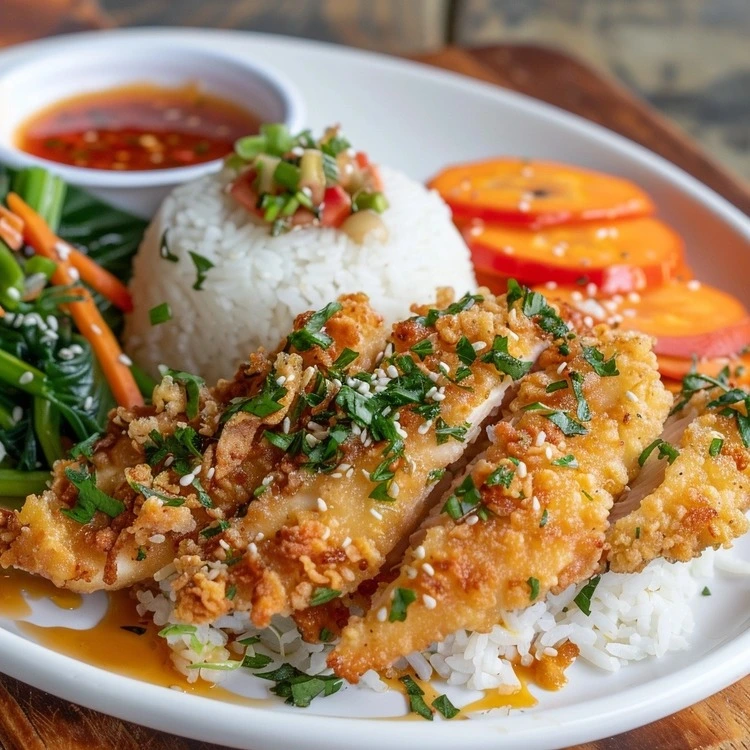
Dreaming of delicious, crispy chicken tenders, but the store-bought options leave you wanting more? You’re not alone! This chicken breast tenderloin recipe is your ticket to achieving restaurant-quality tenders right at home.
Battling with soggy, unhealthy chicken fingers. Resorting to boring, processed choices.
Our chicken breast tenderloin recipe offers a healthy and flavorful solution.
We’ll unveil the secrets to making restaurant-worthy chicken tenders with simple ingredients and three easy cooking methods: air fryer, baking, and pan-frying (perfect for those craving a classic chicken finger recipe).
This recipe is your go-to for busy weeknights or fun family dinners.
Chicken Breast Tenderloin Recipe in 5 Steps:
- Pat dry chicken
- Choose: Bake, pan-fry, or air-fry
- Coat (flour, egg, breadcrumbs)
- Cook to 165°F internal temp
- Enjoy!
Table of contents
Introduction:

Craving crispy, juicy chicken tenders that leave store-bought versions in the dust? We’ve all been there. Those moments when you just want a satisfying and easy meal, but frozen tenders often feel greasy and lackluster.
What if I told you there’s a better way? A way to unlock the hidden potential of chicken tenderloins and create restaurant-worthy tenders right in your own kitchen?
This chicken breast tenderloin recipe is a game-changer. It’s a recipe that originated in my own kitchen, born out of nights when takeout just wouldn’t cut it.
Packed with flavor and surprisingly simple to prepare, these tenders have become a family favorite – a healthier and tastier alternative to the usual suspects.
But don’t just take my word for it! This guide will equip you with all the knowledge you need to create perfect chicken tenders, every single time. Is wondering if you can achieve restaurant-quality results at home holding you back?
The answer is a resounding yes! So, let’s get started and transform those chicken tenderloins into something truly special.
Ready to ditch the frozen aisle and become a chicken tenderloin mastermind? Buckle up and get ready to experience the difference a homemade recipe can make! We’ll be exploring different cooking methods, delicious flavor variations, and key techniques to ensure crispy perfection.
By the end of this guide, you’ll be a chicken tenderloin pro, ready to impress your family and friends with your culinary skills!
Ingredients – Assemble Your Tenderloin Dream Team!
Alright folks, gather around the stove because we’re about to create restaurant-worthy chicken tenderloins at home! This recipe is a twist on a childhood favorite that never fails to satisfy.
Remember those nights when mom whipped up a batch of crispy, juicy chicken tenders, and dinnertime felt like a celebration? We’re bringing that magic back, but with even more flavor options to tantalize your taste buds.
The Hero: Chicken Tenderloins
First things first, the star of the show: chicken tenderloins. These lean strips of meat, nestled beneath the chicken breast, are naturally tender and perfect for quick cooking.
But how many do you need? That depends on your appetite! Plan on 3-4 tenderloins per person for a satisfying meal.
Pro Tip: If you can’t find pre-cut tenderloins, no worries! Simply remove the thick tendon from a boneless, skinless chicken breast and cut it into even strips. Thickness matters, so aim for about ½ inch for perfectly cooked tenders.
Now, let’s talk about the flavor symphony we’re about to create! This recipe is all about customization. Do you crave a classic, golden-fried experience? We’ve got you covered. Feeling adventurous? Let’s explore some exciting spice combinations!
Chicken Breast Tenderloin Recipe – The Crispy Coating Crew:

- Breadcrumbs: These are the MVPs of crunch! You can use classic breadcrumbs for a nostalgic touch, or try panko breadcrumbs [Link to what is panko breadcrumb ON Simply Recipes simplyrecipes.com] for a lighter, airier texture.
- Flour: This acts as a binder to hold everything together. Can you use all-purpose flour? Absolutely! But for a gluten-free option, almond flour or coconut flour can work wonders.
- Eggs: The wet ingredient that helps the coating adhere to the chicken.
The Flavor Brigade of the Chicken Breast Tenderloin Recipe
- Salt and Pepper: These pantry staples are essential for building a solid flavor foundation. Don’t be shy, season generously!
- Spice Rack Adventures: This is where things get exciting! Think paprika for a smoky kick, Italian seasoning for a touch of the Mediterranean, or cayenne pepper for a fiery finish. The possibilities are endless! Feeling overwhelmed by spice options? Check out online resources [Link to How to Use Spices: A Beginner’s Guide ON The Spruce Eats thespruceeats.com] for inspiration on creating flavor profiles that suit your taste.
Remember, this is YOUR chicken tenderloin recipe! Don’t be afraid to experiment and find what makes your taste buds sing. Leave a comment below with your favorite spice combinations, or tag me on social media with your creations – I can’t wait to see what you come up with!
Chicken Breast Tenderloin Recipe Instructions
Alright folks, this is where the magic happens! Are you ready to transform plain chicken tenderloins into crispy, juicy perfection?
This chicken breast tenderloin recipe has been a family favorite for years, ever since my grandma, a true southern chef, whipped it up for a hungry bunch of grandkids. Now, it’s my turn to share the secrets to these irresistible tenders with you.
Prep is Key for Perfect Chicken Tenderloins:
First things first, we need to preheat our oven to 400°F (200°C) for baking or prepare our skillet with oil for pan-frying. Here’s a tip: If you’re using air-frying, preheat it according to your manufacturer’s instructions.
Now, let’s get those chicken tenderloins ready. Pat them dry with paper towels to remove any surface moisture. This is crucial for achieving a crispy coating. Want to take it a step further?
Is pounding chicken tenderloins necessary? Not essential, but gently pounding them with a meat mallet (or the back of a sturdy spoon) can help achieve even cooking and a more tender texture.
The Coating Symphony: Choose Your Adventure!
We’ve got three fantastic coating options for you, depending on your desired texture and flavor profile.
- The Classic Trio: This method involves dredging the chicken in flour, then whisked egg (a little water added for a thinner consistency is okay!), and finally, your favorite breadcrumbs. Panko breadcrumbs [Link to what is panko breadcrumb ON Simply Recipes simplyrecipes.com] will create a delightfully crunchy exterior, while regular breadcrumbs offer a more traditional feel.
- Spice it Up! Feeling adventurous? Add a kick to your classic coating by mixing paprika, cayenne pepper, or your favorite herbs and spices into the flour or breadcrumbs.
- The Lighter Touch: For a healthier twist, consider using a mixture of whole-wheat flour and panko breadcrumbs.
Dipping and Dredging:
Now comes the fun part! Dip each chicken tenderloin in the flour, then the egg, ensuring it’s evenly coated. Finally, give it a good roll in the breadcrumbs, pressing gently to ensure they adhere. Repeat for all the tenderloins.
Cooking Up a Feast:
We’re almost there! Here’s how to cook your chicken breast tenderloin recipe to crispy perfection:
- Baking: Arrange the breaded tenderloins on a baking sheet lined with parchment paper. Bake for 15-20 minutes, or until golden brown and cooked through (internal temperature of 165°F).
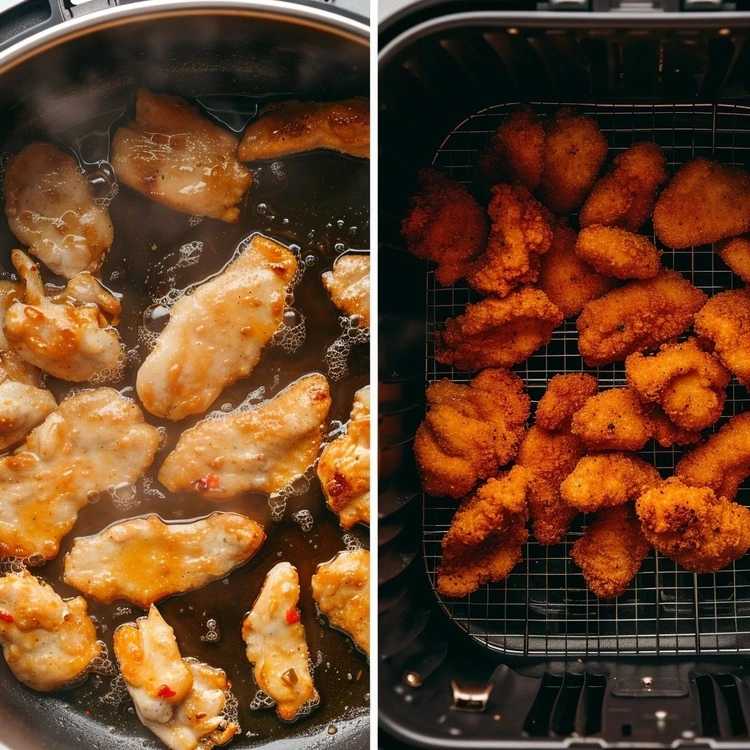
- Pan-Frying: Heat enough oil in a skillet over medium heat to lightly coat the bottom. Fry the tenderloins for 2-3 minutes per side, or until golden brown and cooked through.
- Air-Frying: Follow your air-fryer’s instructions for cooking breaded chicken. This is a great option for a healthier approach with minimal oil.
Pro Tip: Worried about overcooking? Invest in a meat thermometer! It’s your best friend for perfectly cooked chicken every time.
Let’s Rest and Enjoy!
Once cooked, transfer the chicken tenderloins to a paper towel-lined plate to drain any excess oil. Let them rest for a few minutes before serving. This allows the juices to redistribute, resulting in even more flavorful and tender chicken.
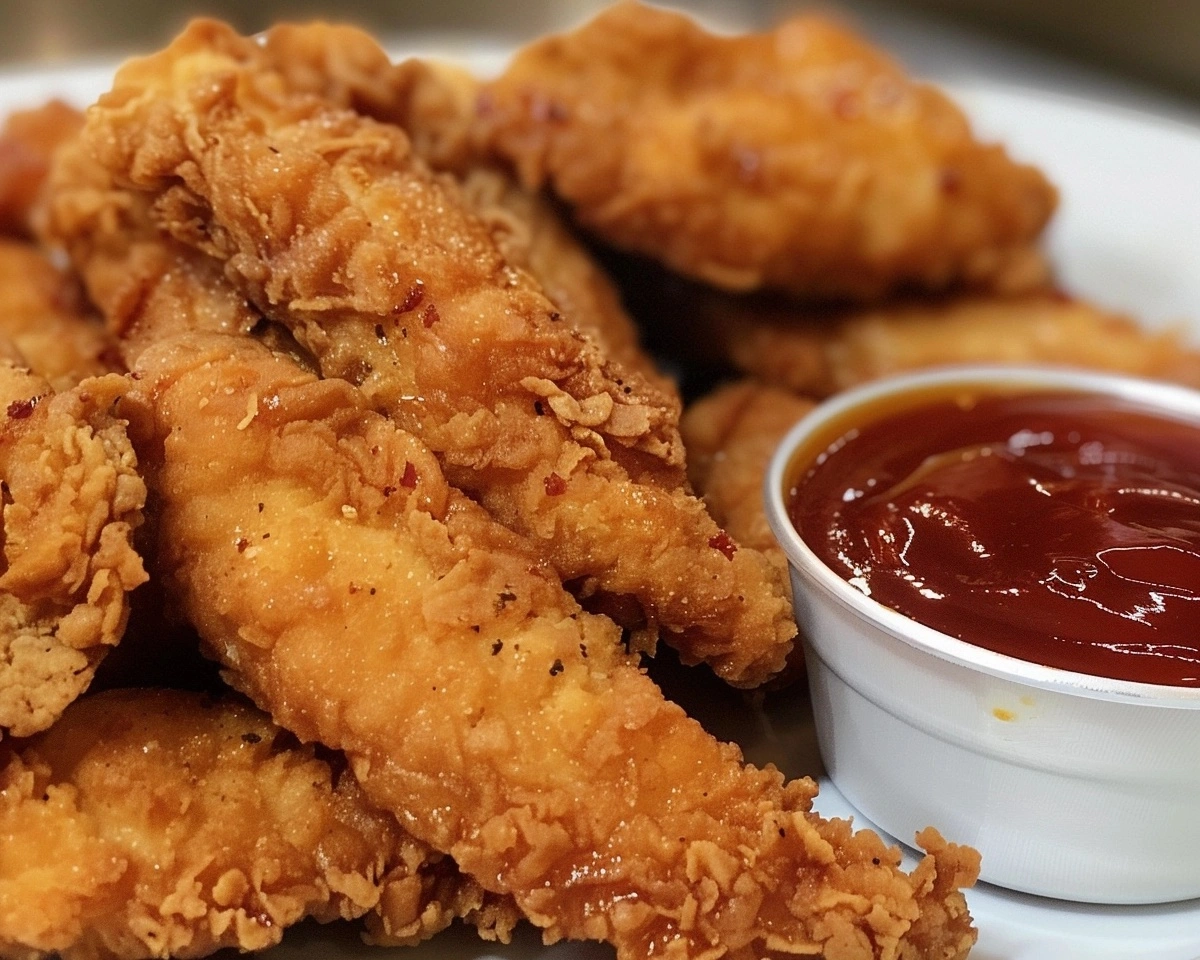
Now, gather your favorite dipping sauces (honey mustard, BBQ sauce, ranch dressing – the possibilities are endless!), whip up some sides (french fries, roasted vegetables, a simple salad), and dig in!
We hope you love this chicken breast tenderloin recipe as much as we do. Let us know in the comments below how yours turned out, share this recipe with your friends, or tag us on social media with your delicious creations!
Cooking and Serving Up Golden Perfection
Ready to transform your chicken tenderloins from boring to crave-worthy? Let’s dive into the cooking process!
Cooking time is all about internal temperature, not the clock. Aim for an internal temperature of 165°F (74°C) for perfectly cooked and safe-to-eat chicken. How do you achieve this? Invest in a good digital meat thermometer!
This little kitchen gadget is your best friend when it comes to ensuring juicy, never-dry chicken.
So, here’s the fun part: cooking! We mentioned three delicious methods: pan-frying, baking, and air-frying. Which method will YOU choose?
Pan-frying: Heat up your skillet with a drizzle of oil (avocado oil is a great choice for its high smoke point) over medium-high heat. Once hot, carefully add your breaded chicken tenderloins and cook for 2-3 minutes per side, or until golden brown and crispy.
Tip: Don’t crowd the pan! Cook in batches if needed to maintain proper oil temperature for even cooking.
Baking: This method is perfect for a hands-off approach. Preheat your oven to 400°F (200°C) and arrange your breaded chicken tenderloins on a baking sheet lined with a wire rack (this allows for air circulation and extra crispiness).
Bake for 15-20 minutes, or until golden brown and cooked through.
Air-frying
This trendy kitchen appliance offers a healthier option with minimal oil. Preheat your air fryer according to the manufacturer’s instructions and arrange your breaded chicken tenderloins in a single layer.
Air-fry for 10-12 minutes, or until golden brown and cooked through.
No matter your cooking method, let those beauties rest for a few minutes before digging in! This allows the juices to redistribute throughout the chicken, resulting in a more tender and flavorful bite.
Now, the moment you’ve all been waiting for: serving! Plate up your golden-brown chicken tenderloins and get creative with dipping sauces. Honey mustard, BBQ sauce, ranch dressing – the possibilities are endless!
This recipe has been a family favorite for years. It all started with a playful twist on chicken nuggets for my niece, who wouldn’t touch anything remotely “healthy.”
Little did she know, these homemade chicken tenderloins were packed with protein and flavor, and they quickly became a crowd-pleaser.
What are YOUR favorite dipping sauces? Leave a comment below and share your recipe creations! Don’t forget to tag me on social media if you recreate this recipe – I love seeing your culinary masterpieces!
Chicken Tenderloin Recipe Nutrition

Let’s talk about the good stuff – the fuel that keeps your taste buds happy and your body energized! This chicken breast tenderloin recipe is a fantastic source of lean protein, clocking in at around 25 grams per serving.
Protein is essential for building and maintaining muscle, keeping you feeling satisfied, and supporting overall health. But wait, there’s more! This recipe is naturally low in carbs and fat, making it a perfect choice for those following a healthy lifestyle.
Curious about the exact numbers? The final nutrition breakdown will depend on your chosen cooking method (baking is generally lower in fat than pan-frying) and any additional ingredients you include (like cheese for those cheesy cravings!).
For a more detailed breakdown, you can use some online nutritional calculators
This recipe originated from my quest to create a healthier version of a childhood favorite. My kids devoured chicken tenders, but the store-bought varieties often left me feeling uneasy about the ingredients.
This recipe is my answer – a chicken breast tenderloin recipe that’s both delicious and nutritious, a win-win for busy weeknight meals!
Conclusion: Time to Get Creative with Chicken Tenderloins!
So, you’ve mastered the art of the perfect chicken breast tenderloin recipe – crispy, juicy, and bursting with flavor. But the fun doesn’t stop here! This recipe is incredibly versatile, serving as a blank canvas for endless flavor combinations.
Ever wondered about Buffalo Chicken Tenderloins? Simply toss your cooked tenders in your favorite buffalo sauce for a spicy kick. Craving something cheesy? Dip your tenders in melted cheese or a creamy parmesan sauce. The possibilities are truly endless!
Looking for more inspiration? Check out these 20 Fun Chicken Tenderloin Recipes [Link to chicken tenderloin recipes ON Budget Bytes budgetbytes.com].
This recipe originated in my own kitchen years ago as a way to create a healthier, tastier alternative to store-bought chicken tenders for my kids. It’s become a family favorite, and I know it will become a staple in your kitchen too!
You Don’t Wanna Miss These Mouthwatering Recipes:
Chicken Kielbasa Recipe: One-Pan Weeknight Wonder
Gluten-Free Breadcrumbs: The Ultimate Guide
Chicken Parm Sandwich | Crispy, Cheesy, & Easy
FAQs: Mastering Your Chicken Tenderloins
u003cstrongu003eChicken tenderloin vs. chicken breast tenderloin?u003c/strongu003e
They’re the same! u0022Tenderloinu0022 refers to the specific cut, located beneath the breast muscle.
u003cstrongu003eWhat are chicken tenderloins good for?u003c/strongu003e
Their small size and versatility make them perfect for quick meals like stir-fries, salads, or kebabs. They also excel in kid-friendly dishes like chicken fingers or nuggets.
u003cstrongu003eHow to cook moist and tender chicken breast?u003c/strongu003e
Here’s the secret: don’t overcook it! Use a meat thermometer to ensure an internal temperature of 165°F. Brining (soaking in seasoned water) also helps retain moisture.
u003cstrongu003eKeep chicken tenderloins from drying out?u003c/strongu003e
Similar to chicken breast, avoid overcooking. Cooking methods like pan-frying or air-frying work well because they cook them quickly. Panko breadcrumbs also add a crispy coat without drying out the inside.
u003cstrongu003eBest way to cook chicken breast without drying it out?u003c/strongu003e
Consider poaching (gently simmering in liquid) or baking at a lower temperature (around 375°F) to keep it juicy.
u003cstrongu003eRubbery chicken tenderloins?u003c/strongu003e
This likely means they were overcooked. Use a meat thermometer and aim for 165°F for perfectly cooked, tender chicken tenderloins.

Chicken Breast Tenderloin Recipe: Easy & Delicious
Ingredients
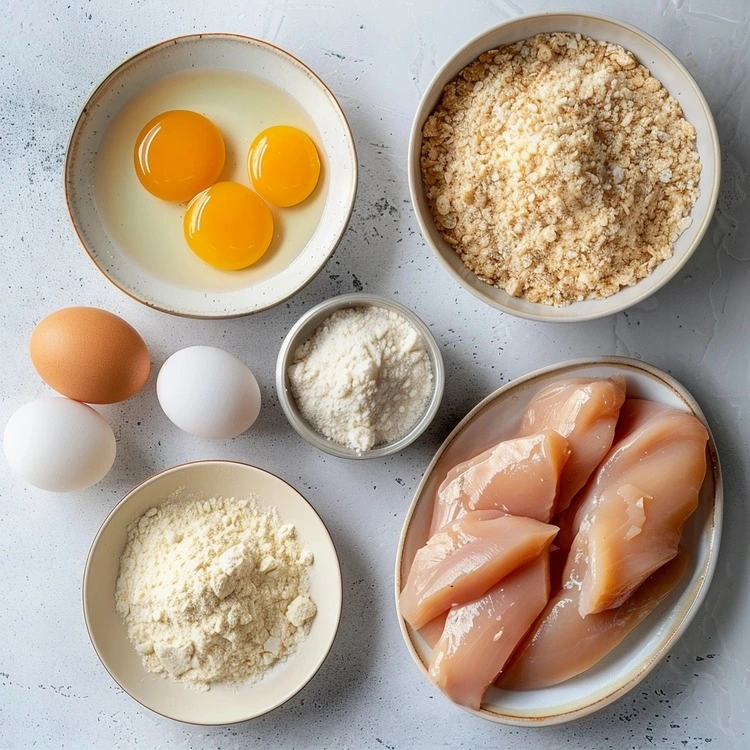
- Chicken Tenderloins: Plan on 3-4 tenderloins per person
- Breadcrumbs: Classic or panko for different textures
- Flour: All-purpose or a gluten-free option like almond or coconut flour
- Eggs: For coating the chicken
- Salt and Pepper: For seasoning
- Optional Spices: Paprika Italian seasoning, cayenne pepper
Instructions
- Prep the Chicken: Pat the chicken tenderloins dry with paper towels to remove any surface moisture. This step is crucial for achieving a crispy coating. If you want to ensure even cooking and a more tender texture, gently pound the tenderloins with a meat mallet or the back of a sturdy spoon.
- Prepare the Coating: Set up three bowls for the coating process. The first bowl should contain flour seasoned with salt and pepper. The second bowl should contain whisked eggs. The third bowl should contain breadcrumbs. If you want to add extra flavor, mix spices such as paprika, cayenne pepper, or Italian seasoning into the flour or breadcrumbs.
- Coat the Chicken: Dip each chicken tenderloin first into the flour, making sure it is evenly coated. Shake off any excess flour, then dip the tenderloin into the egg, ensuring it is fully covered. Finally, roll the tenderloin in the breadcrumbs, pressing gently to ensure they adhere well. Repeat this process for all the tenderloins.
- Cooking Methods: For baking, preheat your oven to 400°F (200°C). Arrange the breaded tenderloins on a baking sheet lined with parchment paper. Bake for 15-20 minutes, or until the tenders are golden brown and cooked through, reaching an internal temperature of 165°F. For pan-frying, heat enough oil in a skillet over medium heat to lightly coat the bottom. Once the oil is hot, add the breaded tenderloins in batches to avoid overcrowding the pan. Fry for 2-3 minutes per side, or until the tenders are golden brown and cooked through. For air-frying, preheat your air fryer according to the manufacturer’s instructions. Arrange the breaded tenderloins in a single layer in the air fryer basket. Air-fry for 10-12 minutes, or until the tenders are golden brown and cooked through.
- Rest and Serve: Once the chicken tenderloins are cooked, transfer them to a paper towel-lined plate to drain any excess oil. Let them rest for a few minutes before serving. This allows the juices to redistribute throughout the chicken, resulting in a more flavorful and tender bite. Serve the tenderloins with your favorite dipping sauces and sides for a delicious meal.
Notes
- Pro Tip: Use a meat thermometer to ensure the internal temperature of the chicken reaches 165°F for perfectly cooked tenders.
- Customization: Experiment with different spices and breadcrumbs to create your own flavor combinations.
- Healthy Option: Opt for air-frying or baking for a lower-fat version of the tenders

